
If you’re familiar with Camunda 8, you’ll know that it includes exporters to Elasticsearch and Opensearch for user interfaces, reporting, and historical data storage. And many times folks want the ability to send data to other warehouses for their own purposes. While creating custom exporters has been available for some time, in this post we’ll explore how you can easily test them on your laptop using Camunda 8 Run (C8 Run).
C8 Run is specifically targeted for local development, making it faster and easier to build and test applications on your laptop before deploying it to a shared test environment. Thank you to our colleague Josh Wulf for this blog post detailing how to build an exporter.
Download and install Camunda 8 Run
For detailed instructions on how to download and install Camunda 8 Run, refer to our documentation here. Once you have it installed and running, continue on your journey right back here!
Download and install Camunda Desktop Modeler
You can download and install Desktop Modeler using instructions found here. You may need to open the dropdown menu for “Alternative downloads” to find your preferred installation.. Select the appropriate operating system and follow the instructions and be sure to start Modeler up. We’ll use Desktop Modeler to create and deploy sample applications to Camunda 8 Run a little bit later.
Create a sample exporter
First, we’ll create a very simple exporter and install it on your local C8 Run environment and see the results. In this example, we’ll create a Maven project in IntelliJ, adding the exporter dependency, and then create a Java class, implementing the Exporter interface with straightforward logging to system out. Feel free to use your favorite integrated development environment and build automation tools.
Once you’ve created a sample Maven project, add the following dependency to the pom.xml file. Be sure to match the version of the dependency, at the very least the minor version, with your C8 Run installation.
<dependencies>
<dependency>
<groupId>io.camunda</groupId>
<artifactId>zeebe-exporter-api</artifactId>
<version>8.6.12</version>
</dependency>
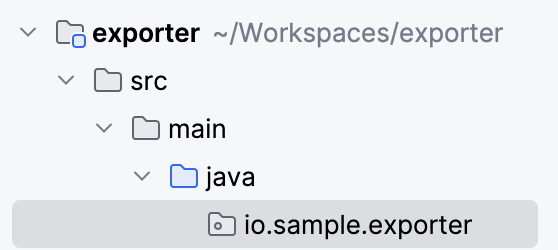
</dependencies>After reloading the project with the updated dependency, go to the src/main/java folder and create a package called io.sample.exporter:
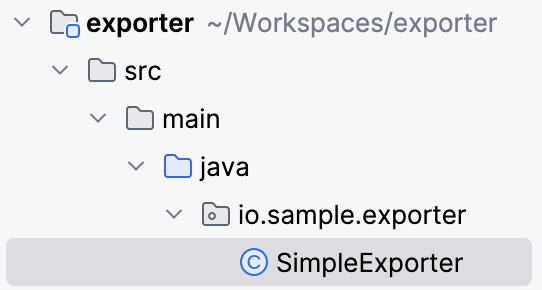
Next, create a class called SimpleExporter in the package:
In SimpleExporter add implements Exporter, and then you should be prompted to select an interface. Be sure to choose Exporter io.camunda.zeebe.exporter.api:

You’ll likely get a message saying you’ll need to implement the export method of the interface. You’ll also want to implement the open method as well. Either select the option to implement the methods or create them yourself. The code should look something like this:
package io.sample.exporter;


import io.camunda.zeebe.exporter.api.Exporter;
import io.camunda.zeebe.exporter.api.context.Controller;
import io.camunda.zeebe.protocol.record.Record;


public class SimpleExporter implements Exporter
{
   @Override
   public void open(Controller controller) {
       Exporter.super.open(controller);
   }


   @Override
   public void export(Record<?> record) {

   }
}
Let’s make some updates. First we’ll add a Controller object that includes a method to mark a record as exported and moves the record position forward. The Zeebe broker will not truncate the event log otherwise and will lead to full disks. Add a controller object: Controller controller; to the class and update the open method, replacing the generated code with: this.controller = controller;
Your code should now look something like this:
public class SimpleExporter implements Exporter
{
   Controller controller;


   @Override
   public void open(Controller controller) {
       this.controller = controller;
   }


   @Override
   public void export(Record<?> record) {
   }
}
Let’s implement the export method. We’ll print something to the log and move the record position forward. Add the following code to the export method:
if(! record.getValue().toString().contains("worker")) {
   System.out.println("SIMPLE_EXPORTER " + record.getValue().toString());
}
The connectors will generate a number of records and the if statement above will cut down on the noise so we can focus on events generated from processes. Your class should now look something like this:
public class SimpleExporter implements Exporter
{
   Controller controller;


   @Override
   public void open(Controller controller) {
       this.controller = controller;
   }


   @Override
   public void export(Record<?> record) {
       if(! record.getValue().toString().contains("worker")) {
   		System.out.println("SIMPLE_EXPORTER " + record.getValue().toString());
 	 }
   }
}
Next, we’ll package this up as a jar file, add it to the Camunda 8 Run libraries, update the configuration file to point to this exporter and see it in action.
Add custom exporter to Camunda 8 Run
Using either Maven terminal commands ie: mvn package, or your IDE Maven command interface, package the exporter. Depending on what you’ve defined for artifactId and version in your pom file, you should see a file named artifactId-version.jar.
In the target directory. Here is an example jar file with an artifactId of exporter and a version of 1.0-SNAPSHOT:
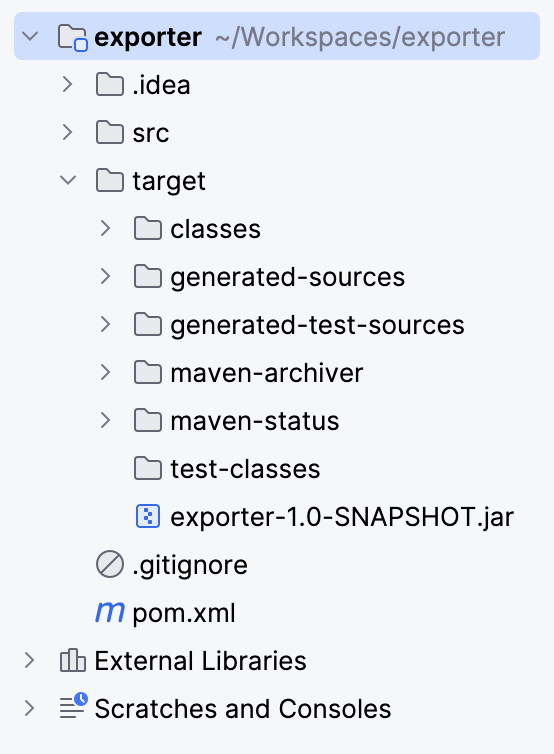
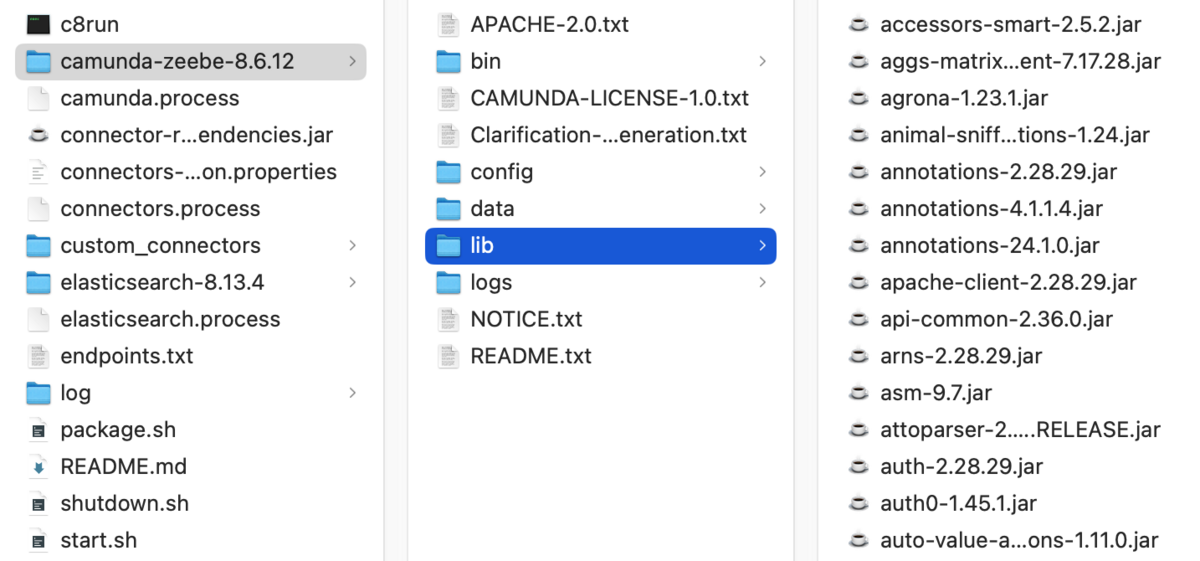
While you don’t have to copy and paste this jar file into the Camunda 8 installation, it’s a good idea. As long as the Camunda 8 Run application can access the directory, you can place it anywhere. In this example we’re placing the jar into the lib directory of the Camunda 8 Run installation in <Camunda 8 Run root directory>/camunda-zeebe-8.x.x/lib.
Next, update the application.yaml configuration file to reference the custom exporter jar file. It can be found in the <Camunda 8 Run root directory>/camunda-zeebe-8.x.x/config directory.
Example Configuration:
zeebe:
  broker:
    exporters:
      customExporter:
        className: io.sample.exporter.SimpleExporter
        jarPath: <C8 Run dir>/camunda-zeebe-8.x.x/lib/exporter-1.0-SNAPSHOT.jar
This ensures that Camunda 8 Run recognizes and loads your custom exporter during startup.
Now let’s start up Camunda 8 Run.
Start Camunda 8 Run and observe the custom exporter in action
Open a terminal window, change directory to the Camunda 8 Run root directory. In it you should find the start.sh or c8run.exe file, depending on your operating system. Start either one (./start.sh or .c8run.exe).
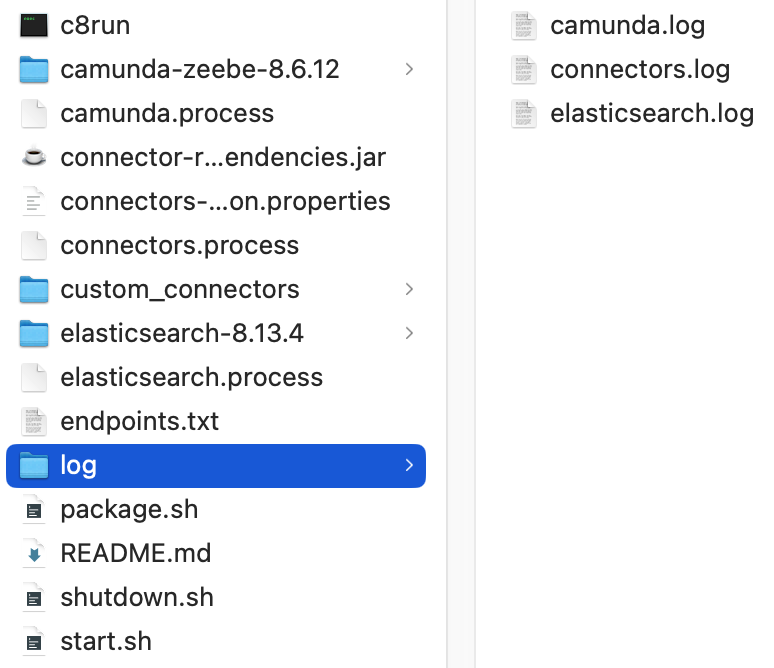
Once Camunda 8 Run has started and you once again have a prompt, change the directory to log, ie: <Camunda 8 Run root directory>/log. In that directory there should be three logs, camunda.log, connectors.log, and elasticsearch.log.
Start tailing or viewing camunda.log using your favorite tool. Next, what we’ll do is create a very simple process, deploy it, and run it to view sample records from a process instance.
Create and deploy a process flow in Desktop Modeler
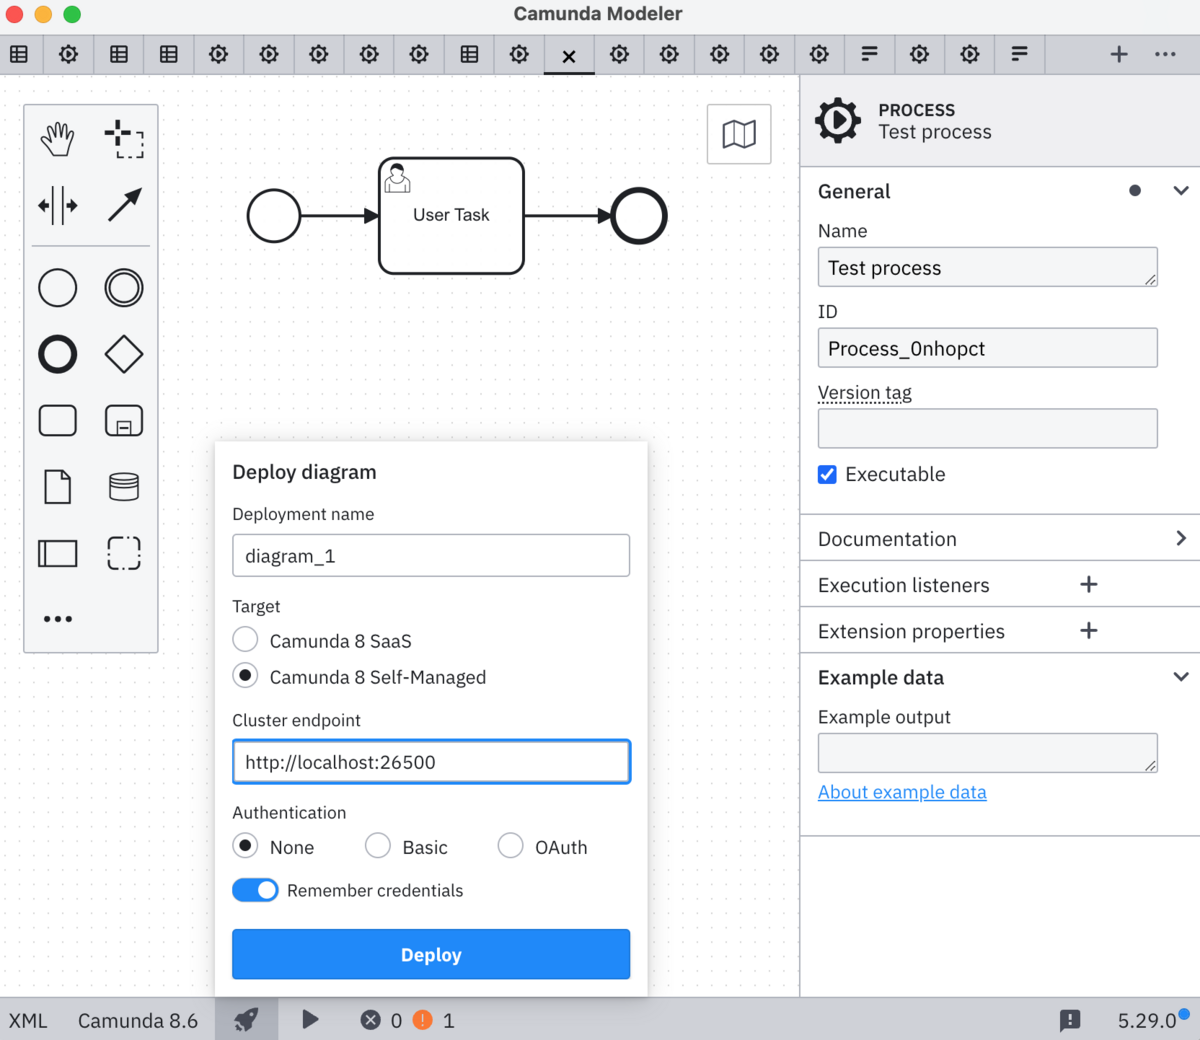
Go to Modeler and create a new Camunda 8 BPMN diagram. Build a simple one step process with a Start Event, a User Task, and an End Event. Deploy it to the Camunda 8 Run instance.Your Desktop Modeler should look something like this:
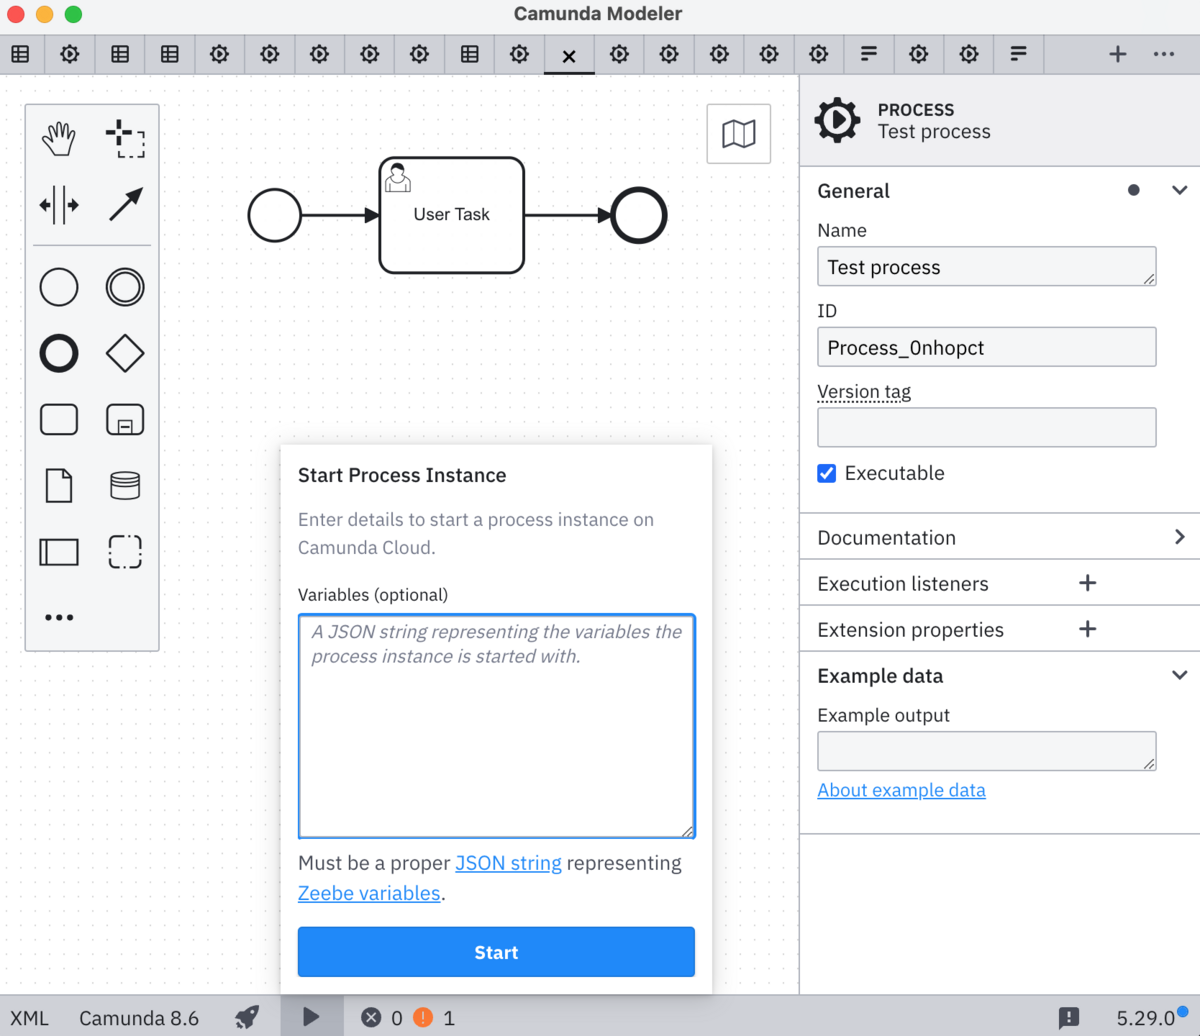
You can then start a process instance from Desktop Modeler as shown here:
Go back to camunda.log and you should see entries that look something like this:
SIMPLE_EXPORTER {"resources":[],"processesMetadata":[{"bpmnProcessId":"Process_0nhopct","version":1,"processDefinitionKey":2251799813703443,"resourceName":"diagram_1.bpmn","checksum":"xbmiHFXd3lVQbwV1gq/UEQ==","isDuplicate":true,"tenantId":"<default>","deploymentKey":2251799813703442,"versionTag":""}],"decisionRequirementsMetadata":[],"decisionsMetadata":[],"formMetadata":[],"tenantId":"<default>","deploymentKey":2251799813704156}
SIMPLE_EXPORTER {"bpmnProcessId":"Process_0nhopct","processDefinitionKey":0,"processInstanceKey":-1,"version":-1,"variables":"gA==","fetchVariables":[],"startInstructions":[],"tenantId":"<default>"}
SIMPLE_EXPORTER {"bpmnElementType":"PROCESS","elementId":"Process_0nhopct","bpmnProcessId":"Process_0nhopct","version":1,"processDefinitionKey":2251799813703443,"processInstanceKey":2251799813704157,"flowScopeKey":-1,"bpmnEventType":"UNSPECIFIED","parentProcessInstanceKey":-1,"parentElementInstanceKey":-1,"tenantId":"<default>"}
SIMPLE_EXPORTER {"bpmnProcessId":"Process_0nhopct","processDefinitionKey":2251799813703443,"processInstanceKey":2251799813704157,"version":1,"variables":"gA==","fetchVariables":[],"startInstructions":[],"tenantId":"<default>"}
SIMPLE_EXPORTER {"bpmnElementType":"PROCESS","elementId":"Process_0nhopct","bpmnProcessId":"Process_0nhopct","version":1,"processDefinitionKey":2251799813703443,"processInstanceKey":2251799813704157,"flowScopeKey":-1,"bpmnEventType":"UNSPECIFIED","parentProcessInstanceKey":-1,"parentElementInstanceKey":-1,"tenantId":"<default>"}
SIMPLE_EXPORTER {"bpmnElementType":"PROCESS","elementId":"Process_0nhopct","bpmnProcessId":"Process_0nhopct","version":1,"processDefinitionKey":2251799813703443,"processInstanceKey":2251799813704157,"flowScopeKey":-1,"bpmnEventType":"UNSPECIFIED","parentProcessInstanceKey":-1,"parentElementInstanceKey":-1,"tenantId":"<default>"}
SIMPLE_EXPORTER {"bpmnElementType":"START_EVENT","elementId":"StartEvent_1","bpmnProcessId":"Process_0nhopct","version":1,"processDefinitionKey":2251799813703443,"processInstanceKey":2251799813704157,"flowScopeKey":2251799813704157,"bpmnEventType":"NONE","parentProcessInstanceKey":-1,"parentElementInstanceKey":-1,"tenantId":"<default>"}
Now you can experiment extracting data from the JSON objects for your own purposes and experiment with sending data to warehouses of your choice. Enjoy!
Looking for more?
Camunda 8 Run is free for local development, but our complete agentic orchestration platform lets you take full advantage of our leading platform for composable, AI-powered end-to-end process orchestration. Try it out today.
Start the discussion at forum.camunda.io