
One of the most anticipated new features of the upcoming 8.7 release is Intelligent Document Processing (IDP). We teased IDP at CamundaCon in New York City last fall, and since then the engineering teams have been hard at work building a scalable document handling solution inside Camunda. With the latest alpha release, we are excited to announce that IDP is now available for testing for those on Self-Managed, with full SaaS support coming in next month’s 8.7 minor release.
As always, this is an alpha release, so you may encounter incomplete features. If you do, please let us know! You can share the issue on our forum or, if you’re an enterprise customer, let your AE or CSM know about the issue. This feedback helps our team as they work to finalize the features for the 8.7 release in April!
Requirements
Note: this configuration applies to an early-access alpha release of Camunda 8.7 and IDP. This configuration is likely to be different in the final 8.7 release.
There are a few requirements before you can start using IDP with Camunda. To get started, you’ll need API keys for Amazon Bedrock. Behind the scenes, Camunda connects to Bedrock to parse and understand the uploaded document. There are a few steps needed:
- First, you need to configure a user in AWS IAM that has permission to Amazon Bedrock, AWS S3, and Amazon Textract.
- Configure and save the access key pair for the IAM user. You need to save both the access key and secret access key.
- Create an AWS S3 bucket. It can be named whatever you want, but remember the name and region as they will be needed next!
Next, you’ll need to start an 8.7.0-alpha5 cluster with IDP enabled. IDP is only supported with 8.7.0-alpha5 in Self-Managed. SaaS alpha releases do not support IDP yet! (Support for SaaS will be included in 8.7, but is not available in this alpha.) IDP is also not supported in Desktop Modeler; you must use Web Modeler to configure and test IDP.
The easiest way to get started with IDP in Self-Managed is to use the Camunda 8 Docker configuration. Once you’ve downloaded the Docker Compose files, you will need to:
- Add the access keys, S3 bucket name, and region from AWS to the
connector-secrets.txtfile - Add the access keys, S3 bucket name, and region to the
docker-compose.yamlfile in two different places:- Under the
zeebecontainer, and; - Under the
tasklistcontainer
- Under the
And that’s it! Now you’re ready to train Camunda on how to extract data from a document!
Training document extraction
Before you can use IDP in your processes, you need to define how data should be extracted from each type of document. The first step is to create a new IDP Application inside Web Modeler.

Select your alpha cluster and give your IDP application a name. Each IDP application will store a set of document extraction templates which will be used to extract data from an uploaded document. When you add an IDP connector to your process, you link it to an IDP application, just like you link a user task to a form. Camunda will match the document to one of the templates, then execute that template to extract the data.
Currently, IDP only supports unstructured data extraction. This method uses AI to understand a document’s structure and find the necessary data. In the future, Camunda will support a structured data extraction method that will allow data extraction from well defined data structures, such as XML or JSON documents.
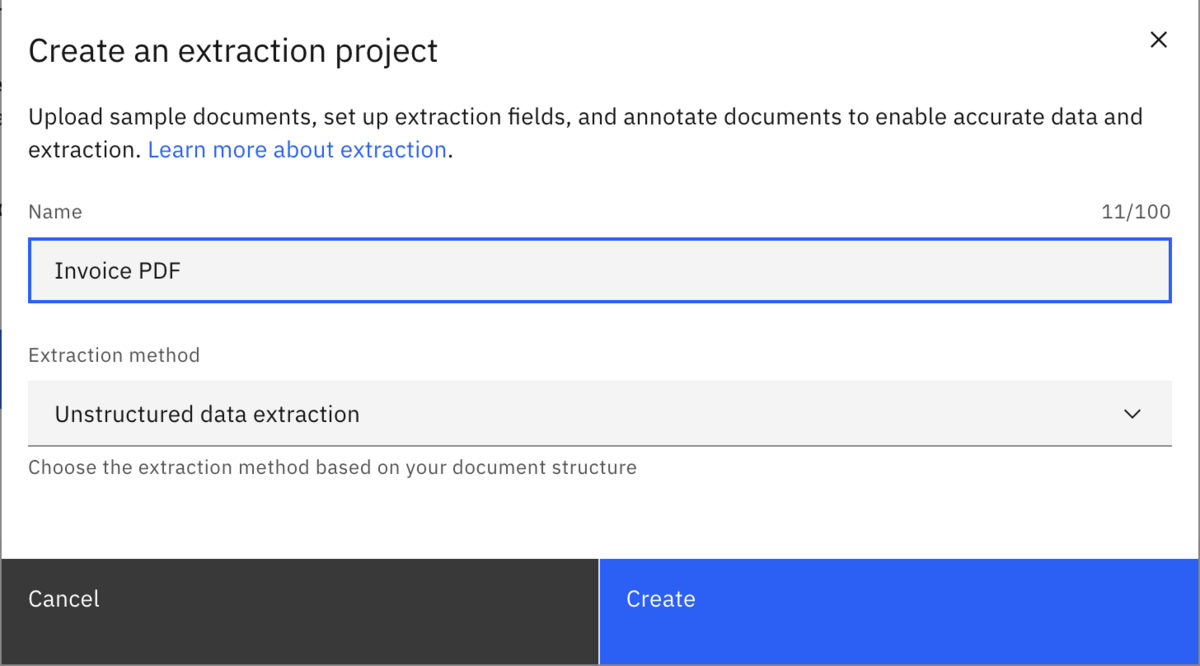
For example, let’s build a customer invoice IDP application. First, we will create an unstructured data extraction called “Invoice PDF.”
The first step after creating the project is to upload sample documents. It is best to upload several different versions of the document you are trying to parse, to give Camunda enough data to accurately test against. By training the AI models against different variations of the document, it helps ensure that the model has the best chance at success.
After uploading a document, click on the “Extract” button to the right of it. The next screen might look a bit intimidating at first, so let’s break down the three major sections:
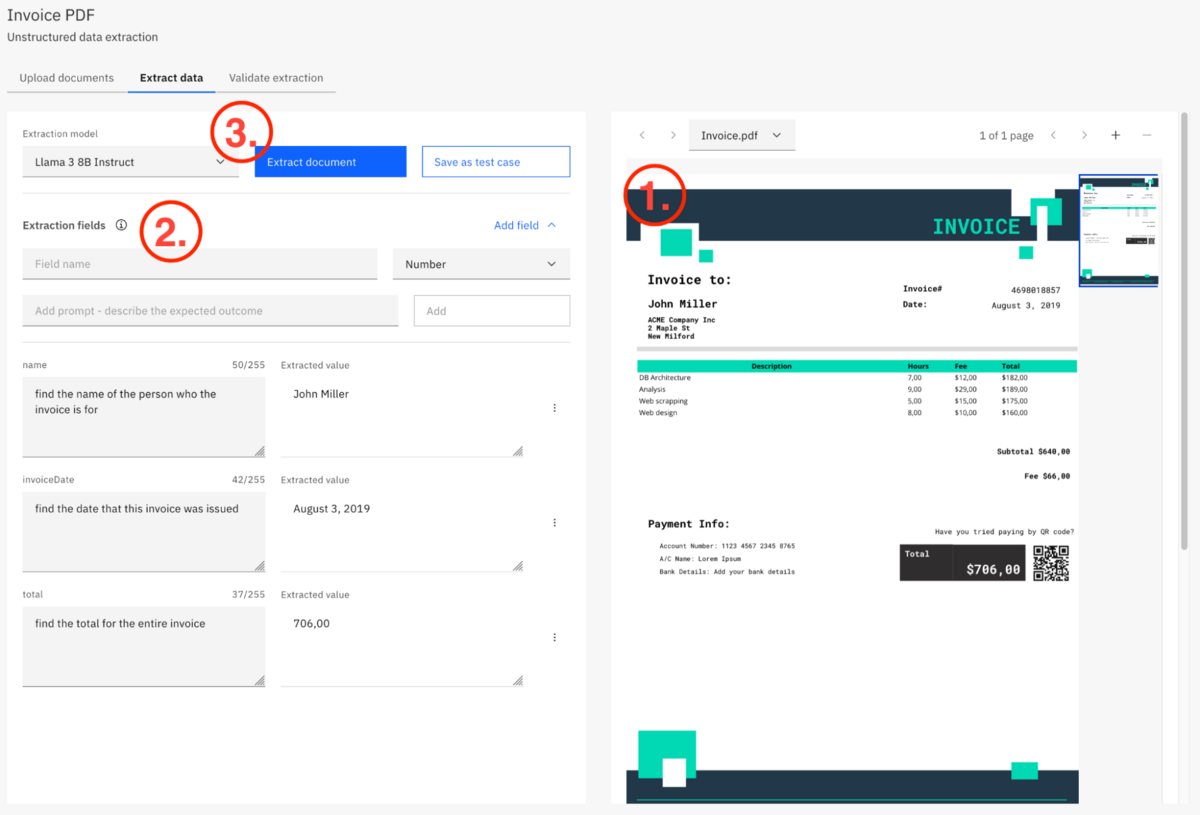
- On the right side of the page, you will see a preview of the document you uploaded. If you uploaded multiple documents, you can preview each of them using the dropdown just above the preview. This makes it easy to reference the document itself while defining the fields to be extracted.
- On the left is a list of fields to be extracted from the document. For each field, you give it a name (this is the name of the variable the data will be stored in, similar to how forms work), a data type, and a prompt that tells the AI what to extract from the document.
- Finally, there is the extraction model and a couple of buttons. The extraction model dropdown gives you a choice between multiple available AI models available in AWS; the “Extract document” button tests your prompts against the previewed document; and last, you can save the configuration as a test case.
The prompt you create for each field is the same type of prompt that you might give ChatGPT. In many ways, creating prompts is a skill that needs to be learned and practiced. For the simple example in the screenshot, the prompt of “find the name of the person who this invoice is for” might not be the most eloquently stated English sentence, but it is a prompt the AI understands fairly consistently.
Looking for more information about AI prompting? Check out this blog post!
You might be wondering why we offer multiple models. There are two primary reasons: cost and compliance. As enterprises adopt AI, they may have policies that restrict which models can be used. Different models also have different costs. You will likely find that you need different models for different documents. Each model has its own strengths and weaknesses, and there is no prescription here: test your model and refine your prompts to get the results your process needs. Camunda offers multiple models to allow you and your enterprise to find the right balance between capability, cost, and compliance. (Coming up on the roadmap is allowing enterprises to bring their own model!)
When you’ve finished adding a few fields and have selected a model, click the “Extract document” button to test your prompts. For each field you added, you should see the expected value in the “Extracted value” text box. If you are getting different data, try refining your prompt.
Creating a test case
Once you’re satisfied with the results of the extraction, it is time to save this data set as a test case. A test case makes it easy to test the model against multiple documents and ensure you are getting the level of consistency you expect.
How is this different from the “Extract document” test, you might be wondering? The previous test worked against the single document selected in the preview; this step runs against all the sample documents uploaded! It also validates the data extracted in the previous step against the data extracted during the test to ensure they match. (In other words, it is checking the newly extracted data against the data saved in the previous step to ensure accuracy.)
After selecting the AI model you want to use, click the “Test documents” button and review the results. You can expand each field and view the extracted value for each of the test documents. If you find yourself getting inconsistent or incorrect results, you will need to go back to the “Extract data” step and further refine your prompts.
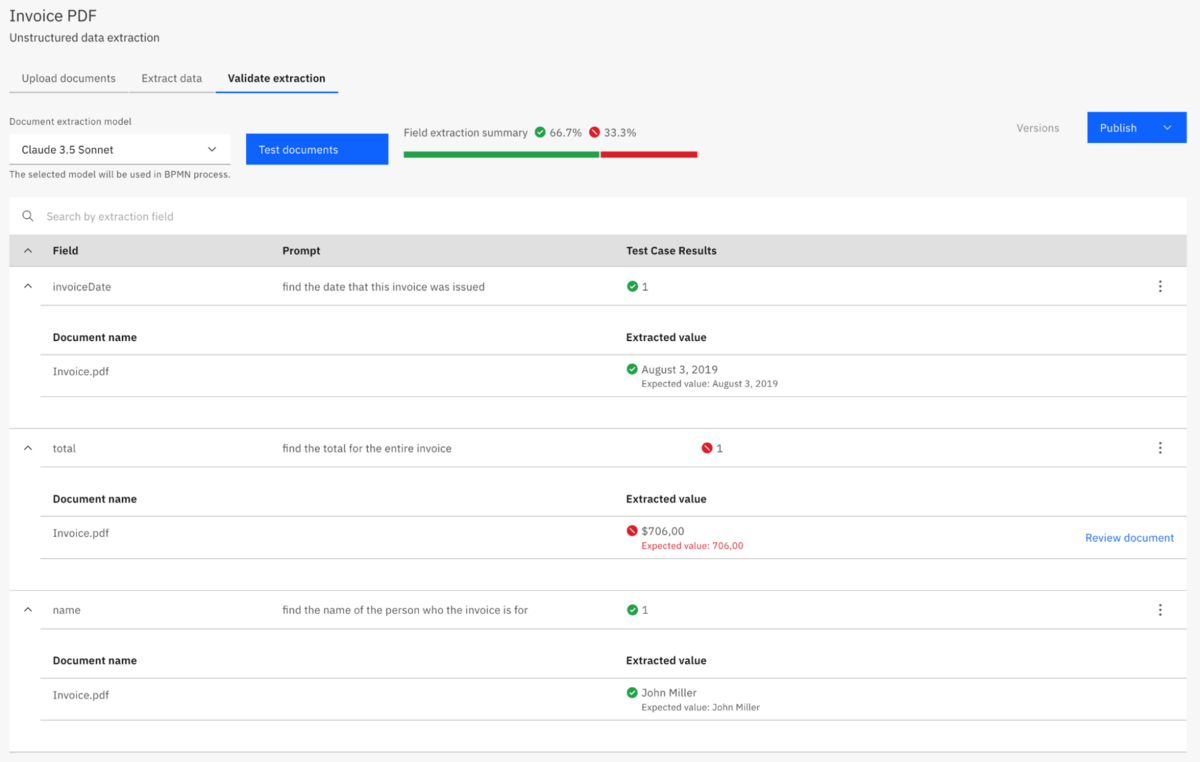
You’ll notice in this screenshot that the total field did not get the same values as the test case. This is because I used a different model to test with (Claude 3.5 Sonnet instead of Llama 3 8B Instruct). In order to resolve this issue, I can choose to move forward with the Llama 3 model, or I can go back to the “Extract data” step and refine my prompts to work better with Claude.
Once you are satisfied with the results, click the “Publish” button and select “Publish to project.” Here you can give your IDP application a version and description, as well as select which model will be used to extract the data. Similar to how connector templates work, after you’ve developed it, you must publish it so that you can use it within processes.
Adding IDP to a process
There are two important things to consider when adding IDP to a process: first, you need a way to upload a document; and second, you need to use the new “IDP Extraction Project” task type.
There are two ways to upload a document to a running process:
- You can use the REST API to upload a document (or multiple documents!), or;
- You can use the file picker inside a Camunda Form.
For this example, I built the simplest possible form in Web Modeler with only a file picker. I gave the file picker the key of document, so I know that is the variable name that will store the uploaded document(s).

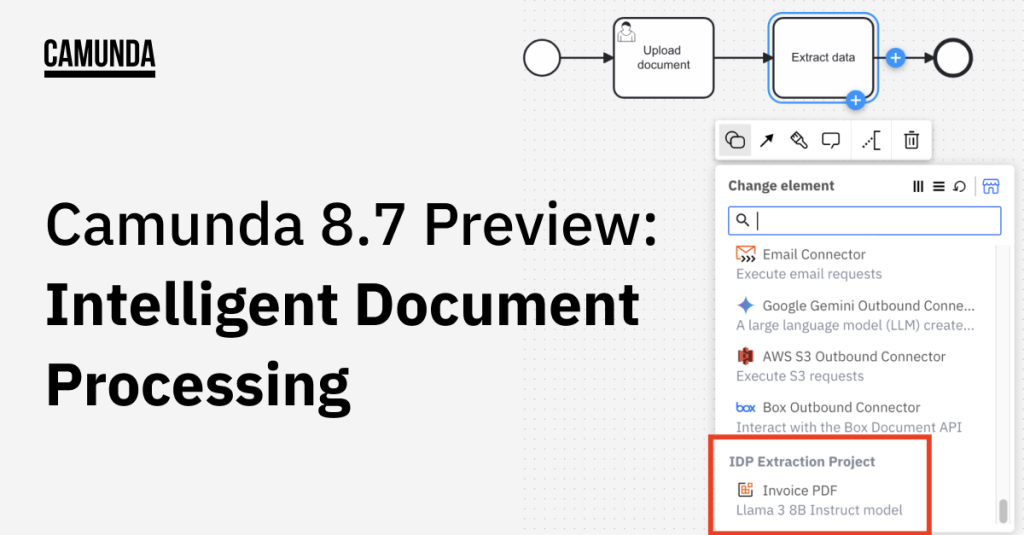
Next, I added a task for document processing. If you scroll all the way to the bottom of the “Change element” list, you will see a new section below the connectors called “IDP Extraction Project.” You should see your published IDP application here. Select it!

You’ll notice in the details pane that some secrets are automatically populated. If you changed the name of the connector secrets when configuring your cluster, you will need to remember to change the name here too! Be sure to check all of the fields to make sure they match how you’ve defined your process and data (of course, don’t forget to define your variable output handling too!):
- Authentication: ensure that the proper connector secrets are set.
- AWS Properties: ensure that the AWS region for your S3 bucket is set.
- Input Message Data:
- The “Document” field should reference whatever variable you stored the uploaded document in. For my example, I used the key name
document. Document uploads via the file picker are a list, so we need to ensure we are getting the first element of that list by setting this field todocument[1]. - The “AWS S3 Bucket Name” field should be the name of the S3 bucket you configured earlier. By default we assume the name is “idp-extraction-connector.”
- The “Document” field should reference whatever variable you stored the uploaded document in. For my example, I used the key name
And that’s it, you’re ready to run and test your process!
Exciting things ahead!
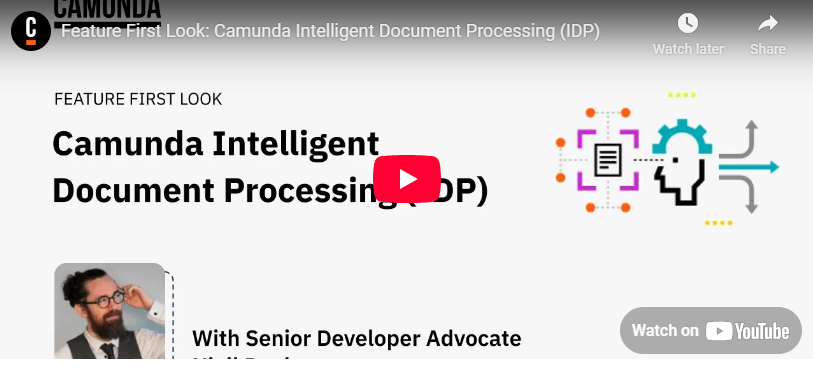
If you want to see IDP implemented end to end, showing the file upload and parsing of the document, check out this fantastic introduction video from our Senior Developer Advocate, Niall Deehan!
Curious for what else is coming in 8.7? Check out the latest alpha release blog for 8.7.0-alpha5! Ready to start experimenting with agentic AI? Learn about some essential BPMN patterns for agentic AI, and then build your own agent! And as always, if you have any questions, join our community forum!
Happy orchestrating!
Start the discussion at forum.camunda.io